It is not unusual for someone with a big heel to step on the composition molded track of a sliding patio door system and break off a chunk.
Compatible replacement tracks are virtually impossible to find. But, alas, these tracks can be repaired in less than an hour and be twice as strong as the original.
You will need just a few things... A length of "stainless track cover" cut to the length of the existing track,
http://www.allaboutdoors.com/product_info.php?cPath=57_134&products_id=16501&osCsid=e2ca86430627e4bb42f50a429d748dff a 5-Minute epoxy syringe, a tube of steel-filled epoxy putty, several screws, a painter's sanding sponge block and a utility knife.
First, brush and wipe clean the broken area to be repaired.
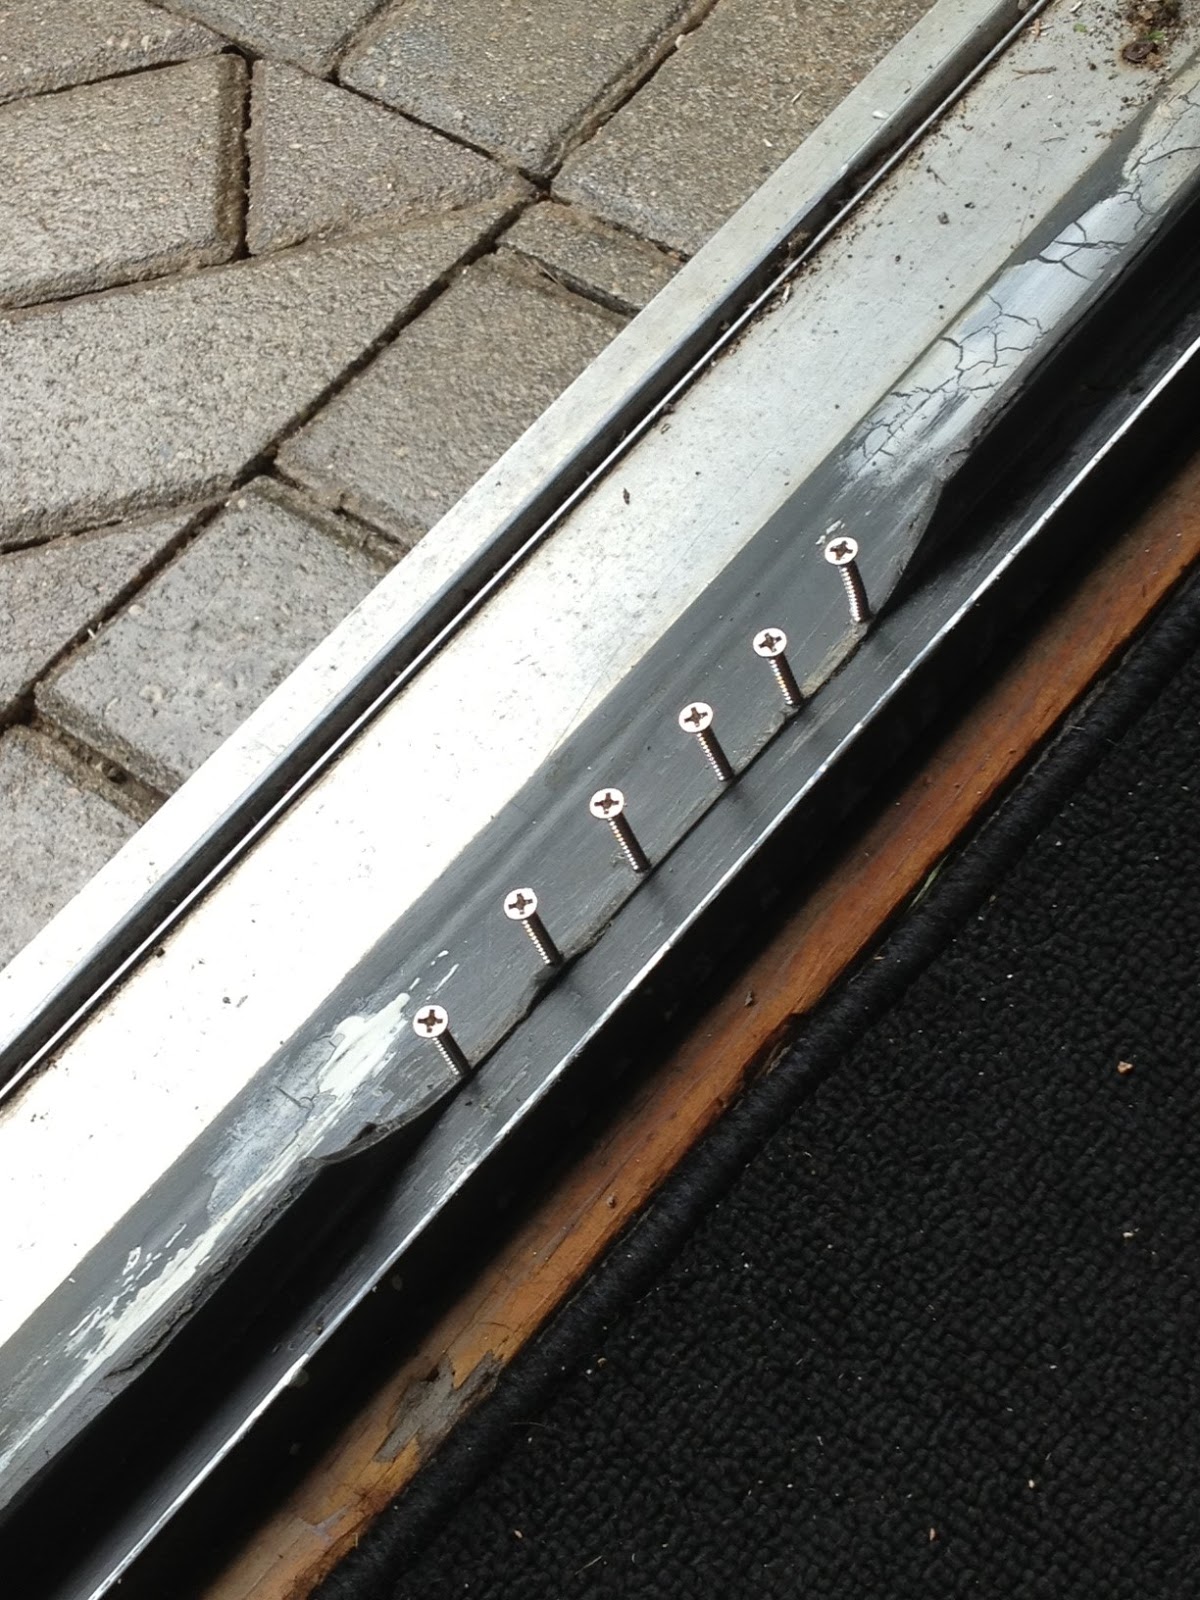
Then, using screws with a thread diameter no larger than the width of the original track, partially screw them securely, equally spaced, in a line from one side of the break to the other. The screw heads should be higher than the height of the original track.
Using an angle grinder with a metal cutting wheel, (or some other efficient tool) slice off the heads of the screws slightly below the height of the original track.
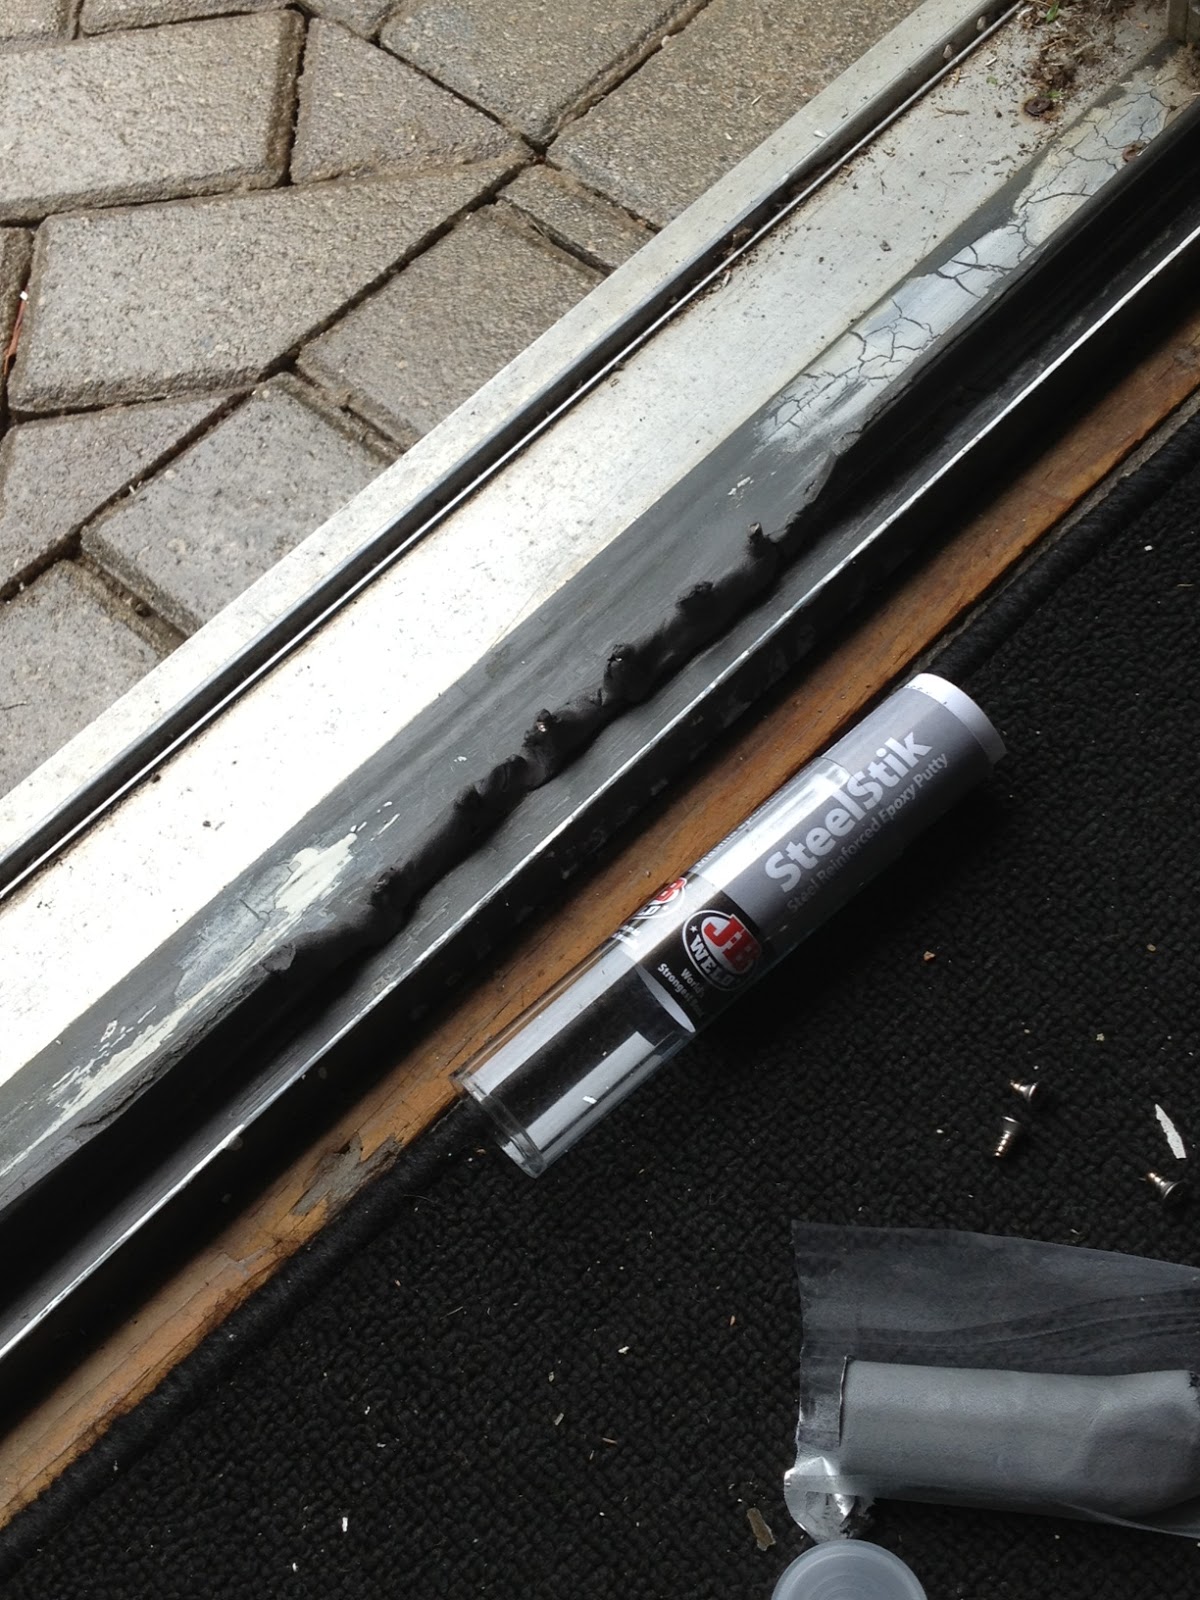
Using the steel-filled epoxy putty, begin to fill in the spaces between the screws. Full hardening time is about fifteen to twenty minutes. (ambient temperature is a factor)
Keep building up the putty into the approximate shape of the original track. The putty shape should be slightly higher and wider than the original track.
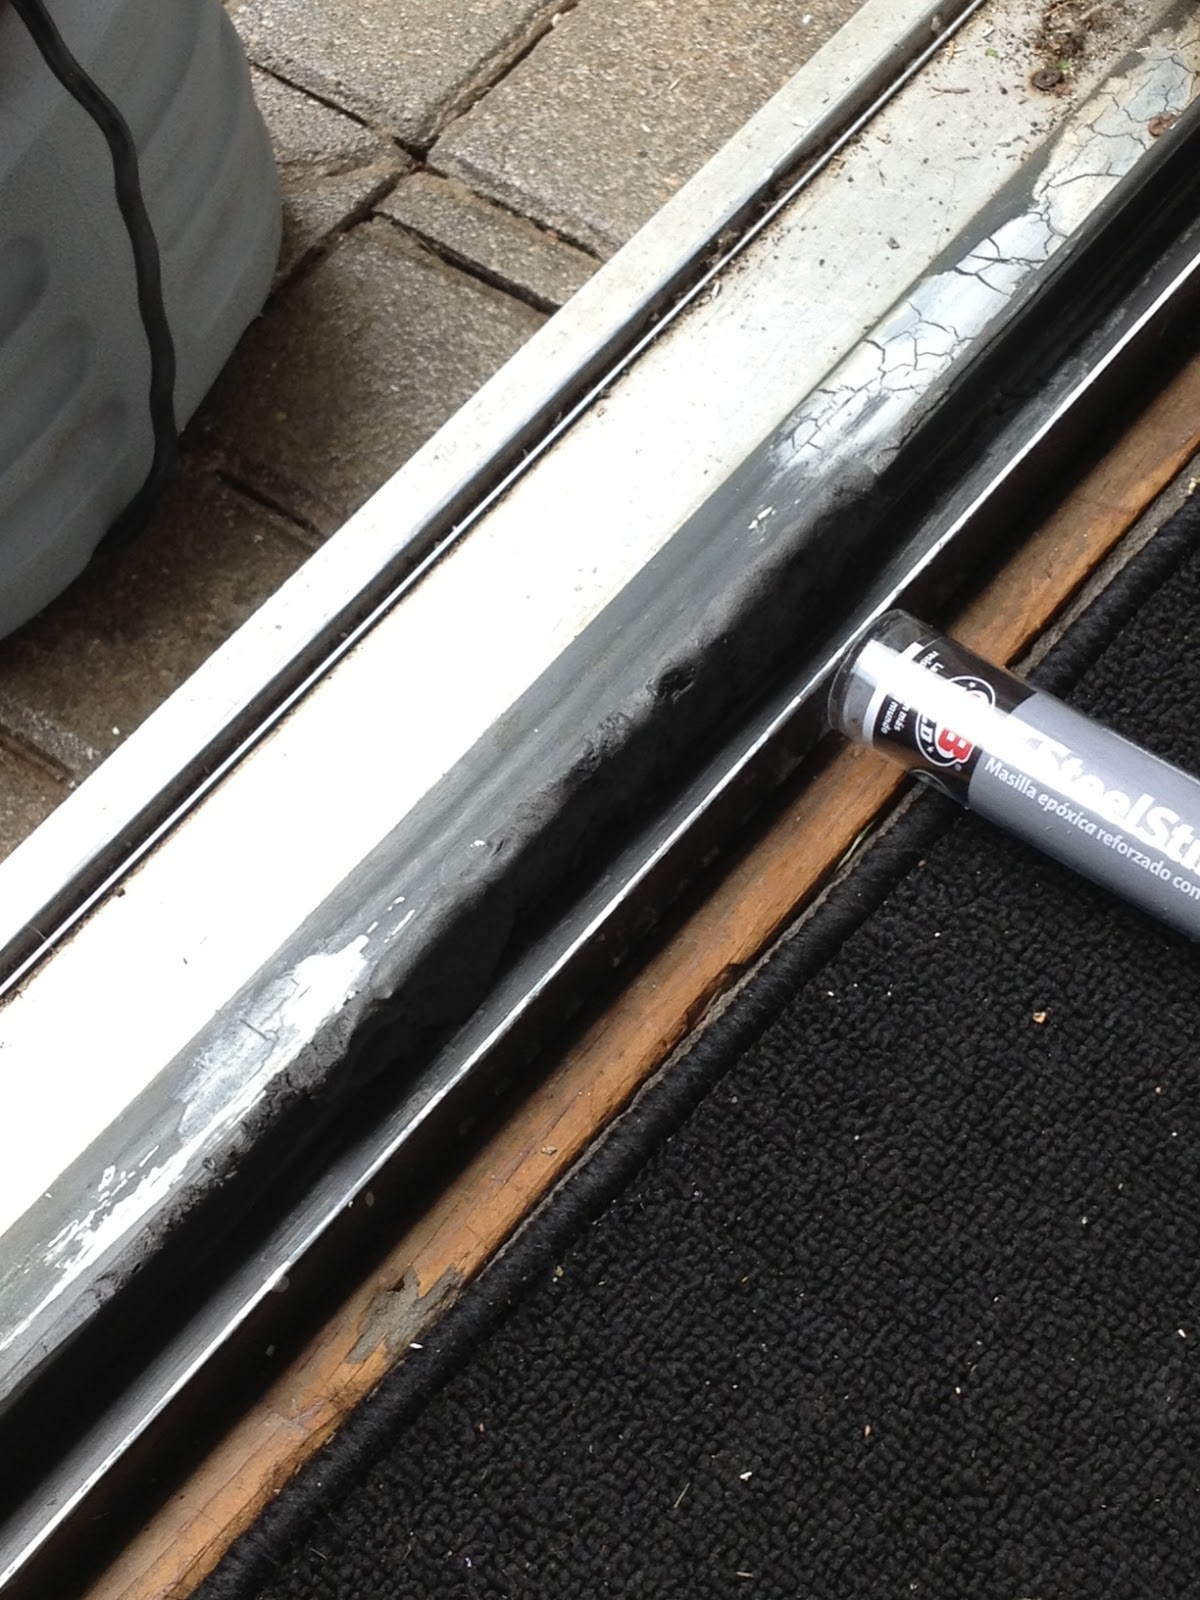
Then, before the putty fully hardens, using a utility knife, carefully trim excess putty. As the putty gets hard, use the sanding sponge block and shape the repair to closely resemble the original track.
Finally, run the 5-minute epoxy inside the length of the stainless track cover, place it over the entire original track, including the repaired portion, tap into place from one end to the other with a mallet and wood block. Wait 20 minutes... and, Voila!!
The results are better than the original manufactured product.